The Norfolk Siren, An IAMPETH Art Show Entry
Jul 30, 2025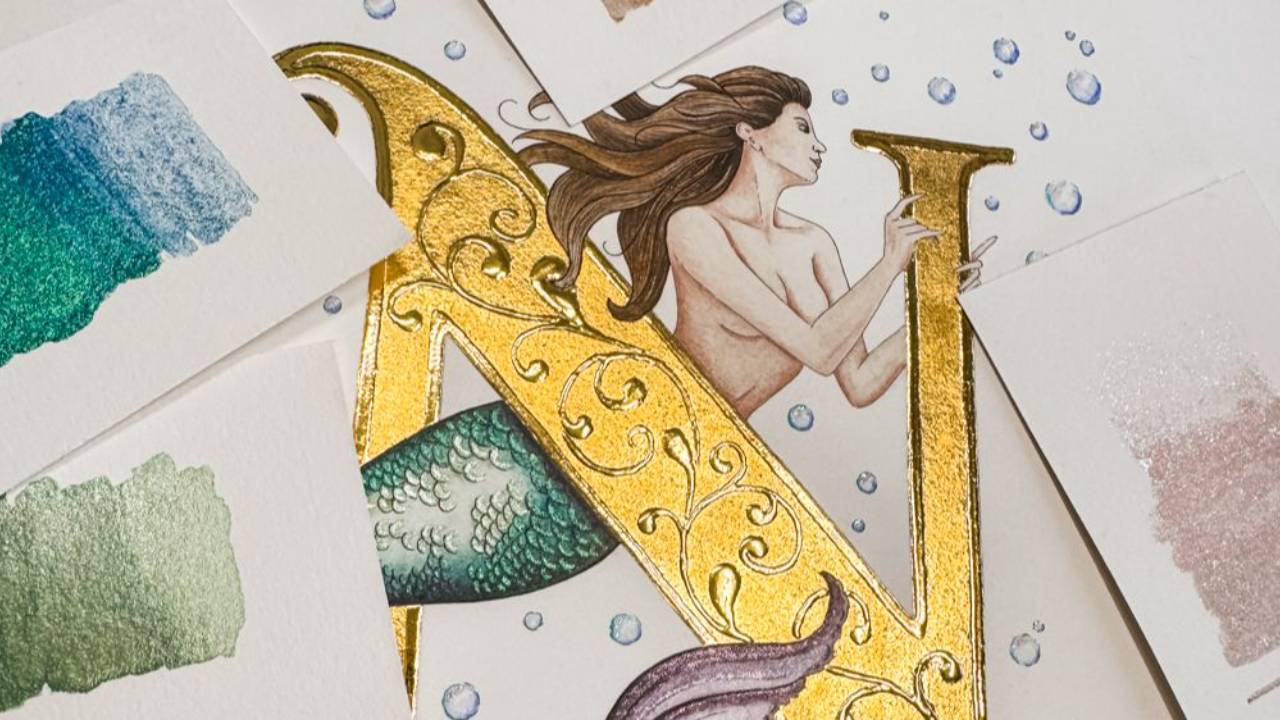
The 2025 IAMPETH call for art show entries gave me the perfect excuse to create something just for me, outside the usual bounds of client work or class assignments. I’m the kind of person who thrives on a clear deadline and a specific goal, so the art show gave me the structure I needed. On top of that, I really wanted to support my friend, President Christen Turney, in bringing her idea for the art show to life.
There was a catch, though... the show had a theme.
We were asked to draw inspiration from the town of Norfolk, with its nautical history and famous mermaid statues. That’s not exactly my usual wheelhouse of florals, fruits, and vines. Ocean scenes, mermaids, and ships? Queue the anxiety! But I put on my big girl pants and decided to push myself out of my comfort zone.
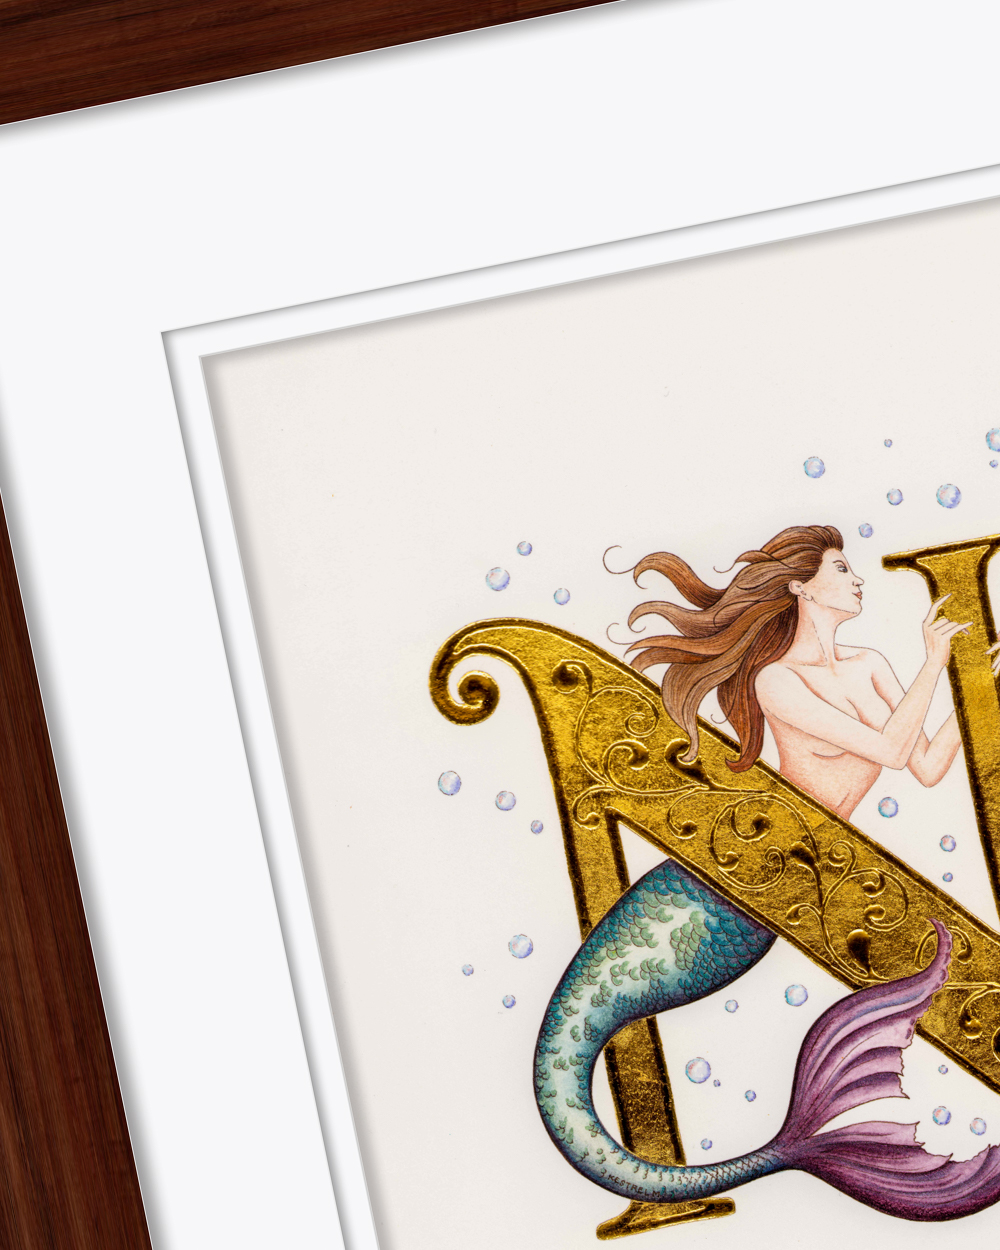
After a month of mulling it over, I landed on the idea of creating a gilded “N” with a mermaid, The Norfolk Siren. I’ll skip to the end and tell you: I was proud of the final piece and honored to display it among friends, colleagues, and mentors at IAMPETH Norfolk 2025. And while I may have been cursing Christen just a little at times (sorry, Christen), I’m ultimately so grateful she gave me the push to create this piece.
One of my oldest calligraphy friends, Joanna Krupnick, even came to see it! We’ve been at this together since the very beginning, back when simply getting a nib to write felt like a major victory.

ABOUT MY PROCESS

1. Pencil Draft on Graph Paper
I started with lots of sketching, erasing, and adjusting as I figured out what to draw and how to draw it. I had a loose idea going in, but this is where the real design work happens. I need to see it take shape on the page. My friend, Jody Meese, introduced me to this awesome vellum graph paper that erases without getting fuzzy.
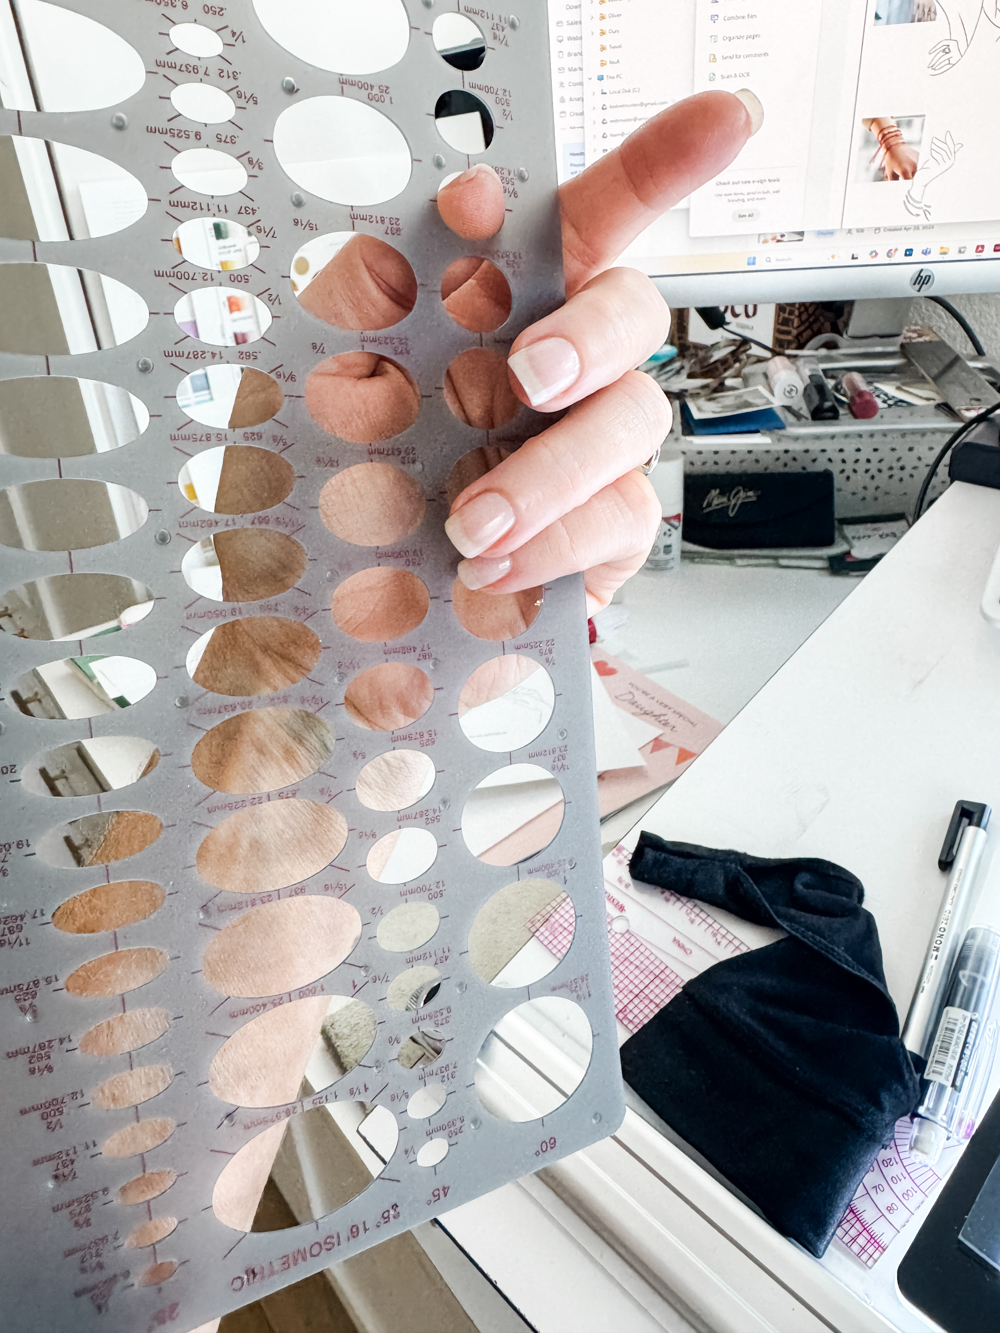
True confession: When I got to the hands, I seriously questioned my decision to draw a mermaid at all. I ended up photographing my own hand and leaning on Schin Loong’s handouts for reference.
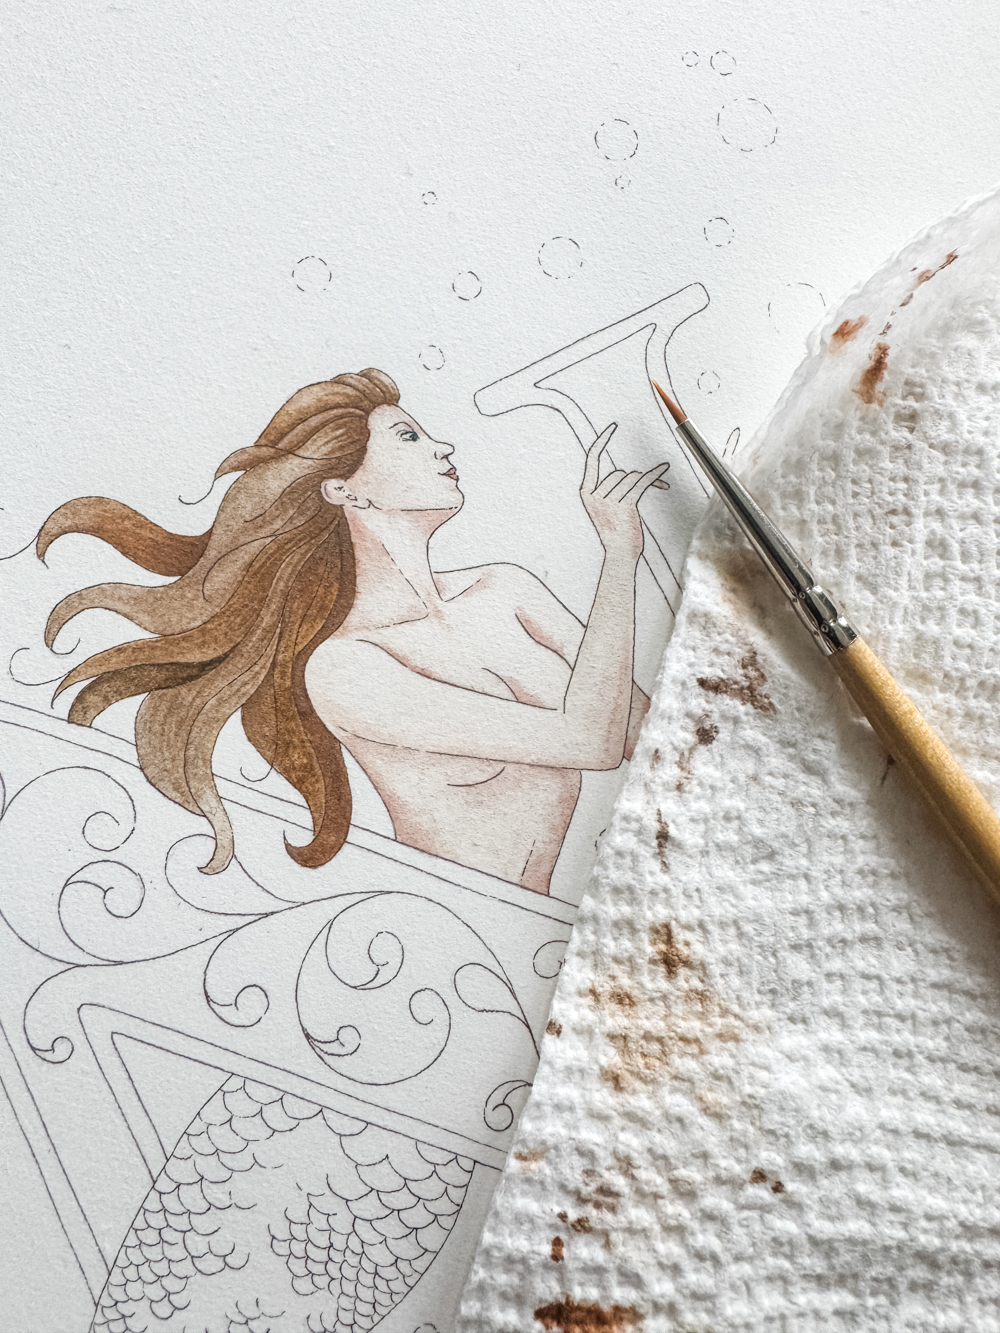
2. Transfer and Outline
I transferred the final sketch to watercolor paper and outlined it with a waterproof Micron pen (003 in Sepia, for a softer, more organic look).
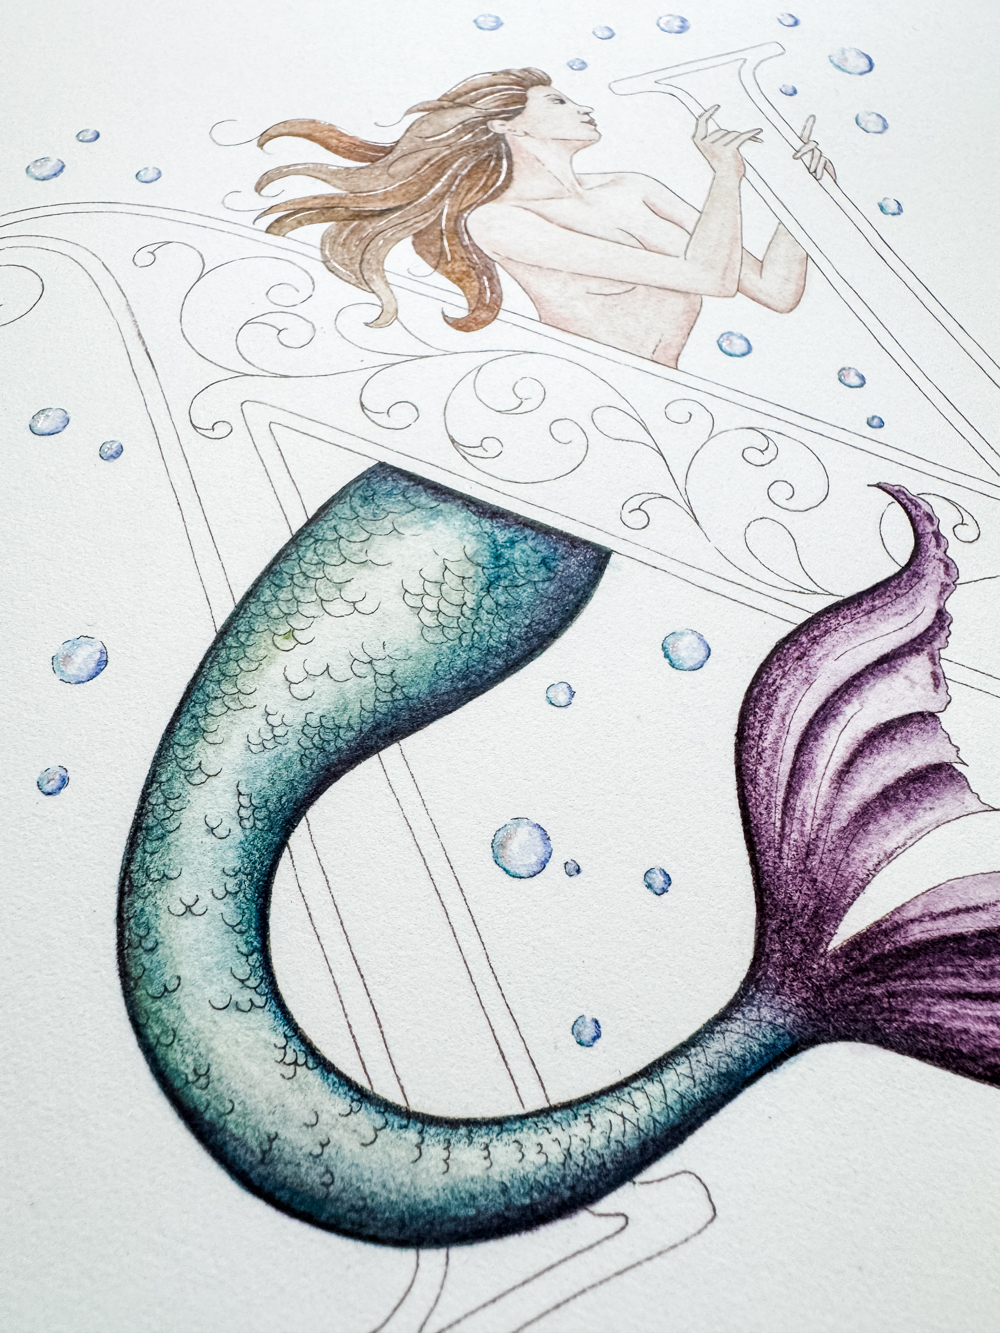
3. Paint the Mermaid
Painting the tail was especially fun. I got to pull in techniques from Paola Marino’s class My Beloved Acanthus. Fish fins and acanthus leaves are strikingly similar!
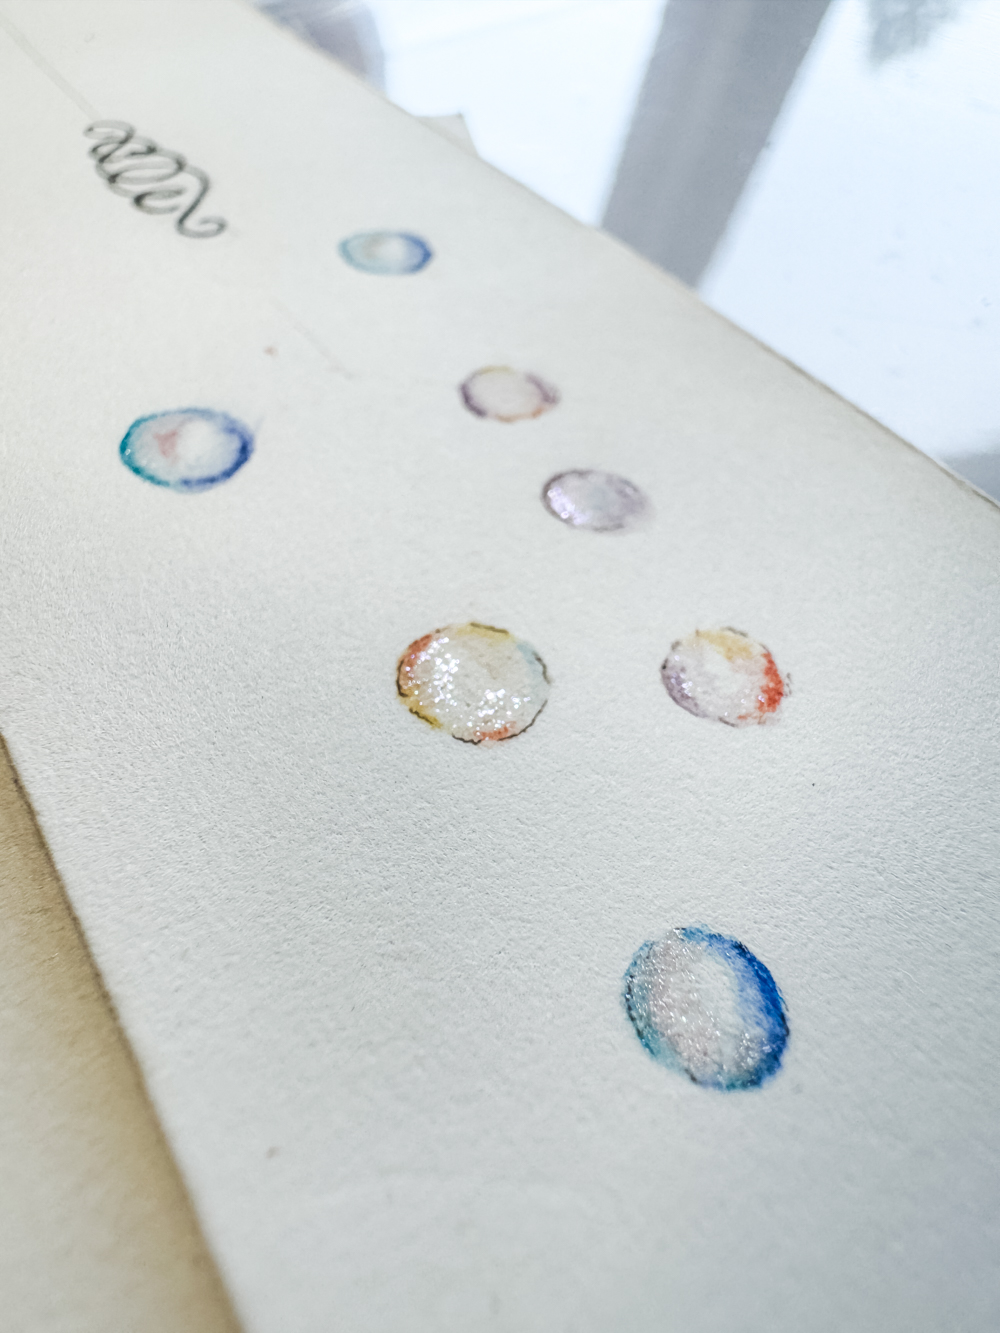
4. Experiment with Bubbles
The bubbles were a fun addition. Here, you can see my test sheet, experimenting with different color combinations and touches of sparkly Lucy In the Sky by TCK, a color I’ve only recently discovered and am loving.
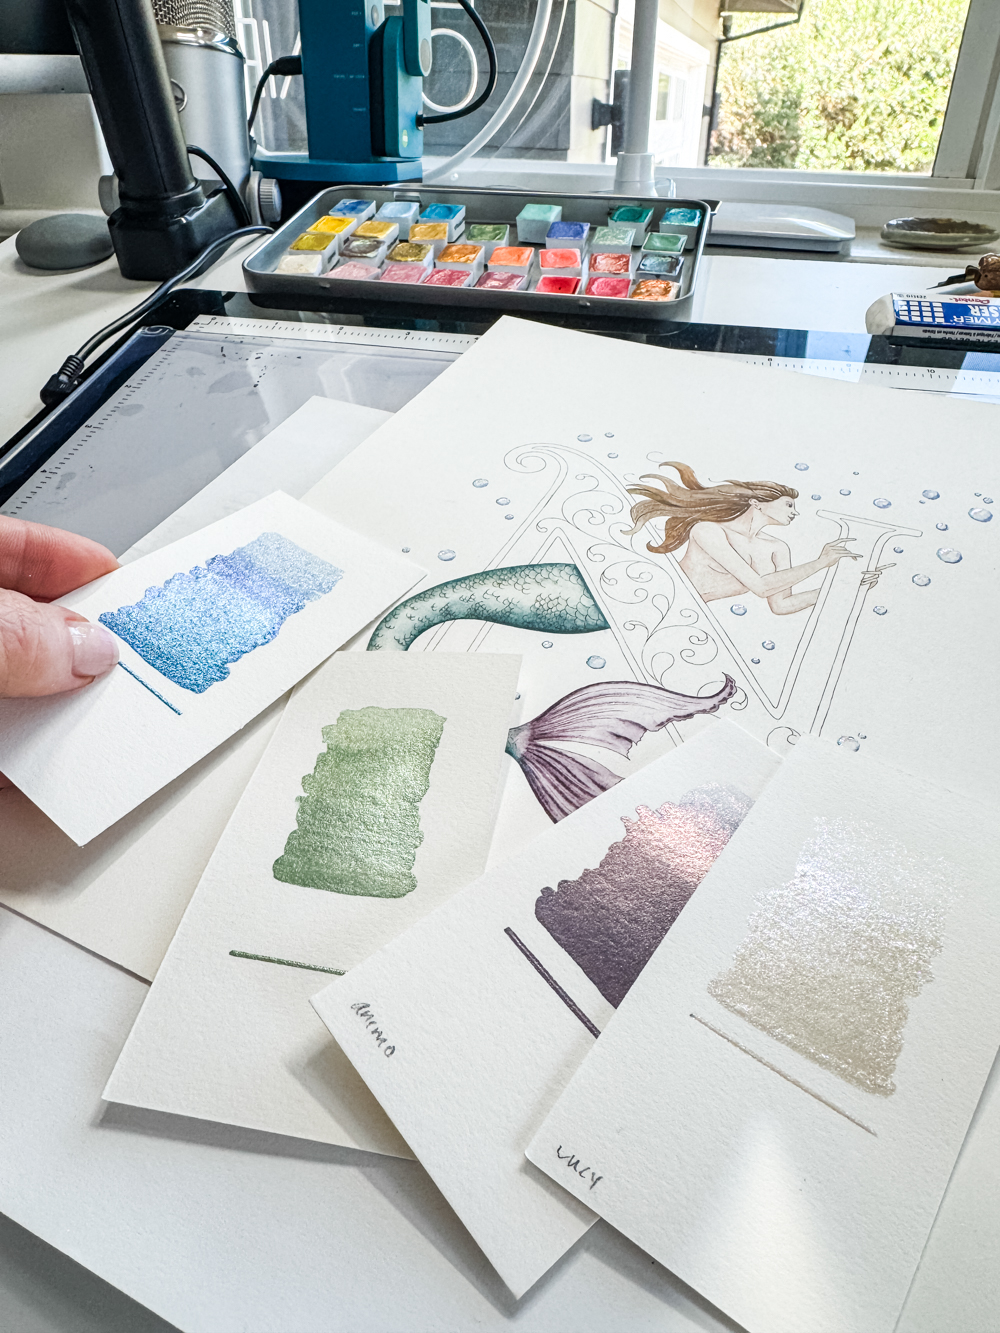
5. Add the Shimmer
What’s a mermaid without some sparkle? Having my TCK color swatches handy on watercolor scraps made it easy to pick the perfect accents to complement the main painting.
6. Paint the N
I first painted the “N” with raw umber to create a gold-toned underlayer that helps hide imperfections or future scratches in the gilding (thank you, Patti Adams, for this trick!). I used both Ormaline and Miniatum to achieve two depths of gold leaf for added dimension.
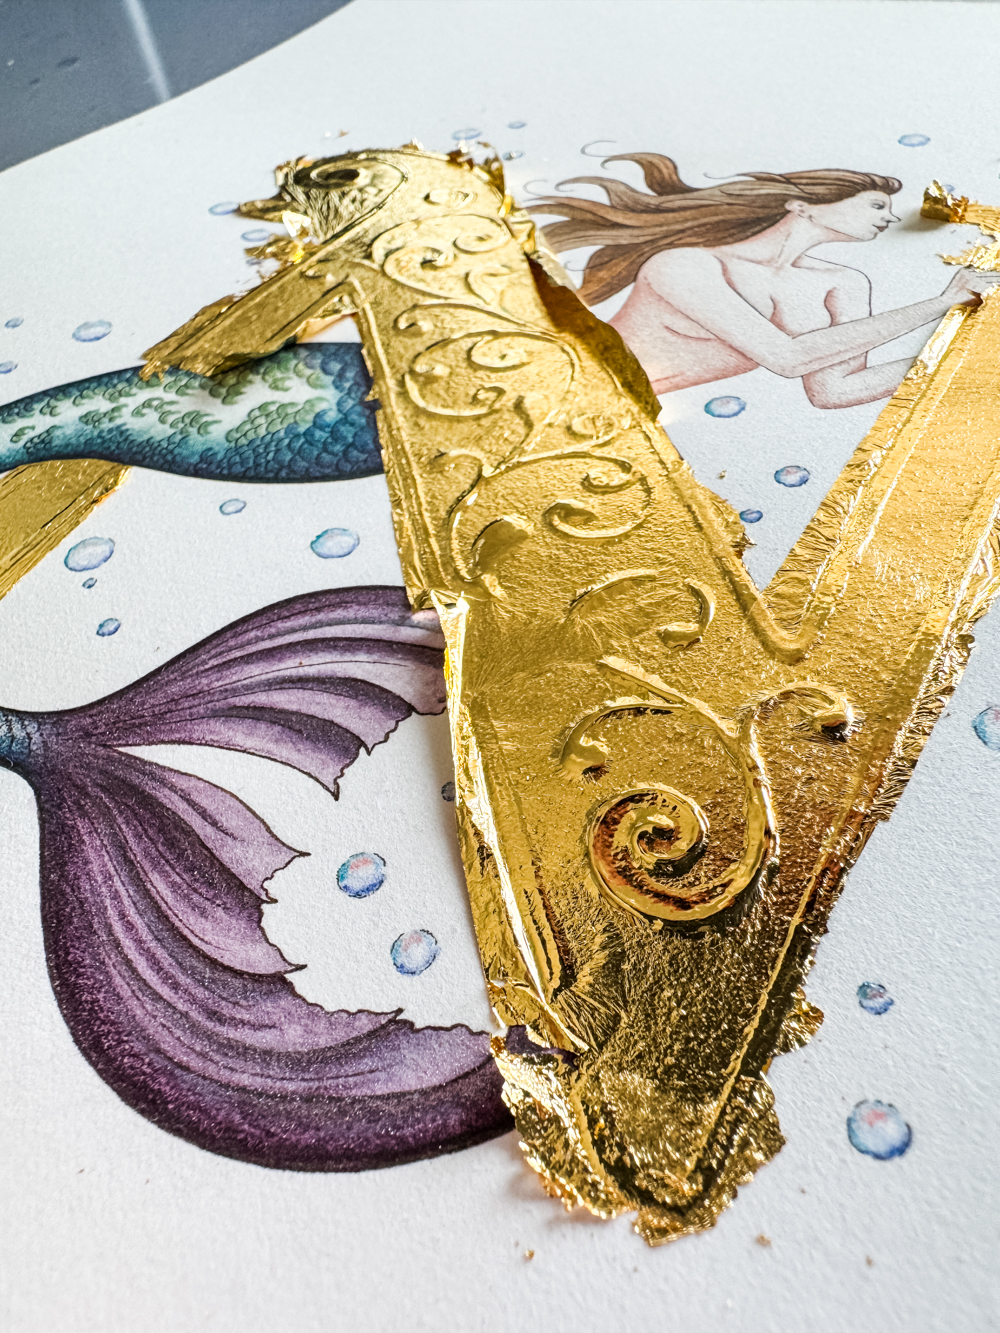
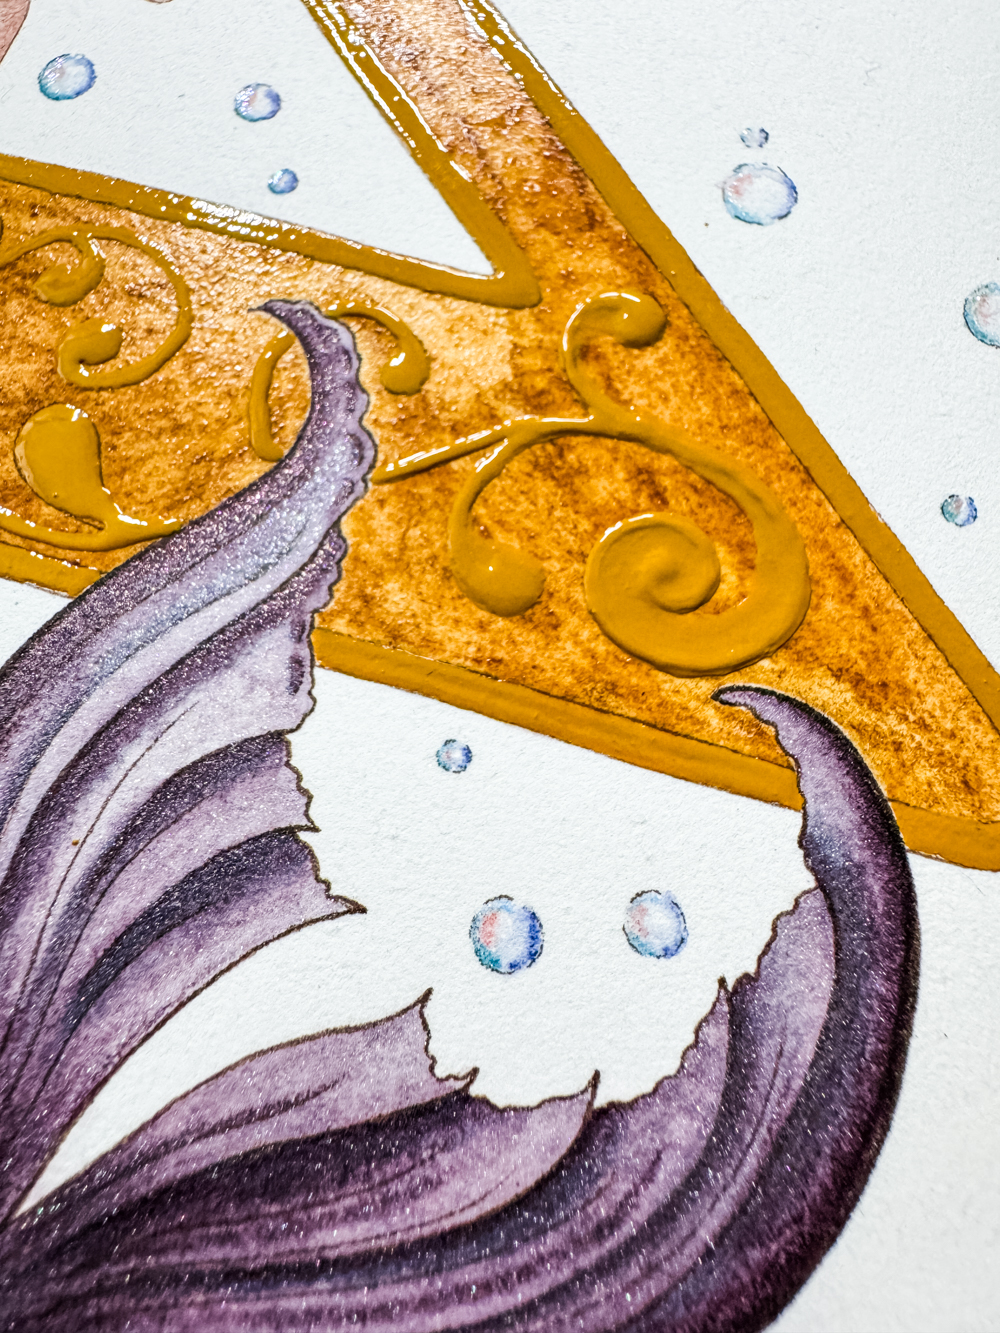
7. Gilding
I used 23.5k yellow gold leaf to bring out the richness of the blues and purples in the tail. Look at me using color! (If you know me, you know I usually stick to soft, muted tones.)
If you’re interested in learning gilding techniques, Master Penman Harvest Crittenden offers an excellent class: Gilding: Traditional to Modern Techniques.)
To see more of my work: https://www.kestrelmontes.com/
To contact me for a quote: [email protected]


