How to Use a Ruling Pen
Sep 20, 2023THE MAGIC OF A RULING PEN
Originally developed for engineers and architects, calligraphers can use ruling pens* to create straight lines on our calligraphy pieces. The precision helps elevate the quality of our artwork to new levels. The consistency, control, and ease of use offered by ruling pens make them an essential tool for calligraphers of all levels.
Let's face it, part of the attraction to calligraphy is the goal of precision and the attention to detail. We can all get mentally lost in the details of our work! Creating perfectly straight lines, whether as part of a border or underlining an element, is a place where we want that precision to shine. While it may seem intimidating before having tried it, using a ruling pen can be a game-changer in achieving those perfectly straight lines in your calligraphy art pieces. In case you have never used one, I want you to see the benefits of using a ruling pen and provide some tips to help you take that leap!
CONSISTENCY
Ruling pens are designed to create a consistent line width. The gap between the two side blades is the width the line will be drawn. The screw can be adjusted to alter the gap between the blades which changes the width of the line. Once adjusted to the desired width, load your ruling pen with ink and draw your lines without moving the screw again. That will ensure all your lines on a single piece are of the same width.
EASE
Unlike nibs and brushes, ruling pens have no flexibility. This means the line width is not impacted by slight pressure changes or angles in our hand as we draw the line. It's going to be even and straight every time!
USING INKS
You can use the same inks with a ruling pen as you use with your calligraphy nibs. That makes this tool a fabulous option for drawing lines that coordinate perfectly with the calligraphy writing or drawn elements on the page. You can even use a ruling pen with miniatum or ormaline for precisely gilded lines!
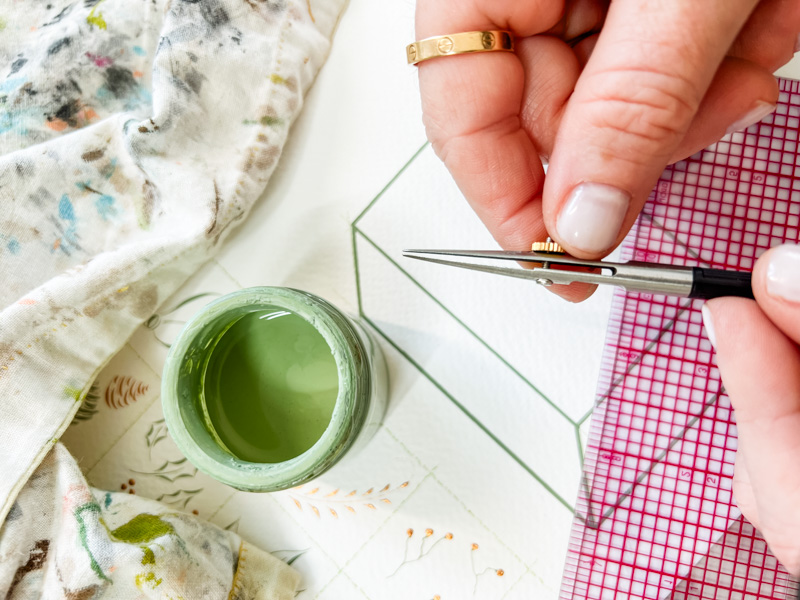
LOADING THE INK
Most people (many people?) like to use a paintbrush to load ink between the blades of the ruling pen. I'm kind of lazy and like to just dip it right into my jar of ink! After dipping, I wipe the ink off the outer sides of the ruling pen. However you prefer to load the ruling pen with ink, the goal is to have a significant amount of ink in the gap between the blades and no ink on the outer sides that will touch the ruler.

USING A RULER
If you are using a ruler with your ruling pen, make sure it has a raised edge. You can use a classic cork-backed ruler* or you can make-shift something like I've done here. I glued two rulers together offset from each other, creating a raised edge. If the ruler's edge is sitting right against the paper, the ink will be pulled between the ruler and the paper. You'll be left with a messy edge when you lift the ruler away.
EXPERIMENT
Dive in! Try different inks and different papers. Make borders and squares. I think you will see that using a ruling pen is quite simple. I admit I was a little nervous before every trying it. Then, I wondered why I had waited so long! I hope you give a ruling pen a try. Show me what you make!
* As an Amazon Associate, I may earn a small commission from qualifying purchases.


